Description
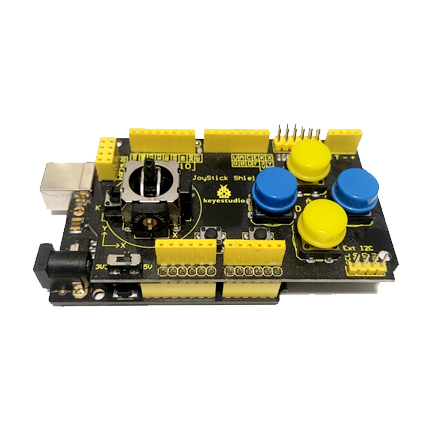
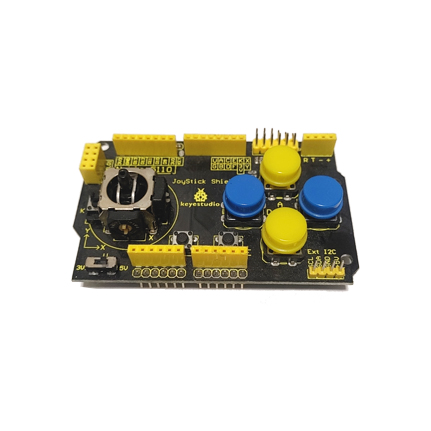
Keyestudio Joystick Shield is particularly developed for you to design your own game machines.
It adds an nRF24L01 RF interface and Nokia 5110 LCD interface, easy for secondary game development. Because this RF module has stable performance, and supports 6 in 1 game play, which allows developers to play freely. Nokia 5110 LCD is widely used in various development platforms, with highly cost-effective and has a strong library support. Here, we add enhanced Nokia5110 display library, including display bitmap, draw point line circle flip and so on.
It also adds a Bluetooth module interface, for convenient Bluetooth wireless serial communication, and a I2C communication interface for I2C devices connection.
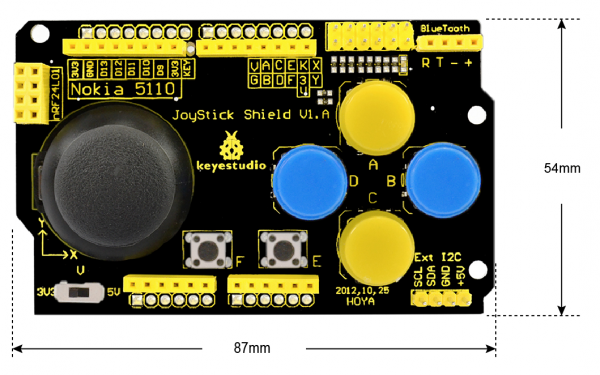
Meanwhile, JoyStick Shield has a cross-shape PS2 joystick with button. There are four round buttons, 2 small buttons, providing input expansion for Arduino joystick and buttons. Onboard slide switch can switch between 3.3V and 5V.
Specification
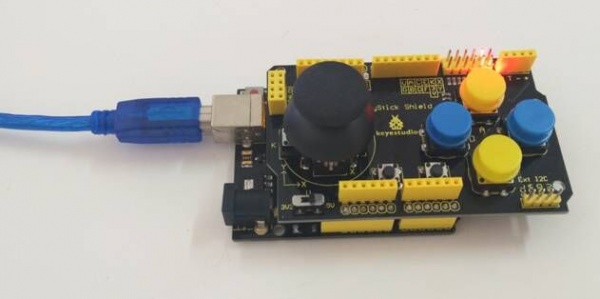
- Compatible with UNO R3 and MEGA 2560 control board.
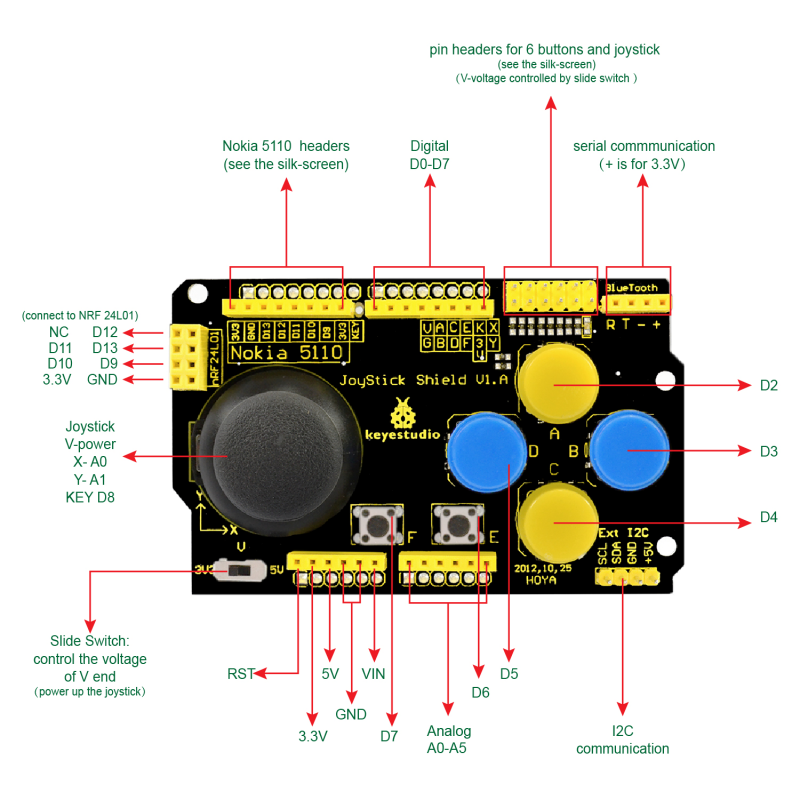
- Comes with a joystick button: X- (connected to A0); Y- (connected to A1); button (connected to D8).
- 4 round buttons with cap: button A (D2); button B (D3); button C (D4); button D (D5).
- 2 small buttons: button E (D6); button F (D7)
- A slide switch: control the output voltage of V end for 3.3V or 5V. (Note: V end can also power up the joystick element)
- Adds a nRF24L01 interface
- Adding Nokia 5110 LCD headers
- Adding Bluetooth module interface
https://wiki.keyestudio.com/Ks0153_keyestudio_JoyStick_Shield